INT009A - SOAP Service - Define Server
In these next steps, you will move the properties file to Integrator and then to the JSM server.
If you had taken the Publish option after successfully building your SOAP Server solution, Step 7A and 7B would not be necessary, they would have been carried out automatically. The manual steps have been included below, so that you are aware of what needs to be published and how it is achieved.
1. Display the Project tab for your project in the LANSA Integrator Studio.
So that you can see your project's files, expand the Solutions folder, then expand the EmployeeServer folder.
2. Copy the properties file to the Integrator project folder. To do this:
a. Highlight and right click the SOAPServerService.properties file to open the context menu.
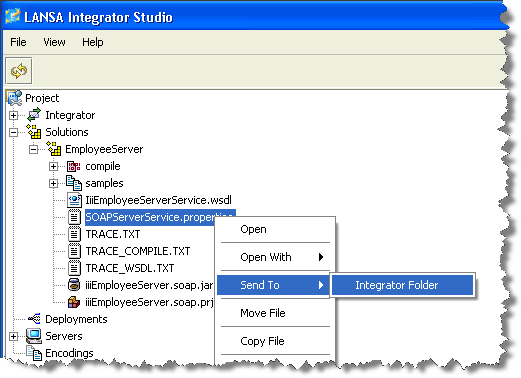
b. Select Send To and then IntegratorFolder from the context menu.
3. Copy the jar file to the Integrator project folder. To do this:
a. Highlight the iiiEmployeeServer.SOAP.jar file to open the context menu.
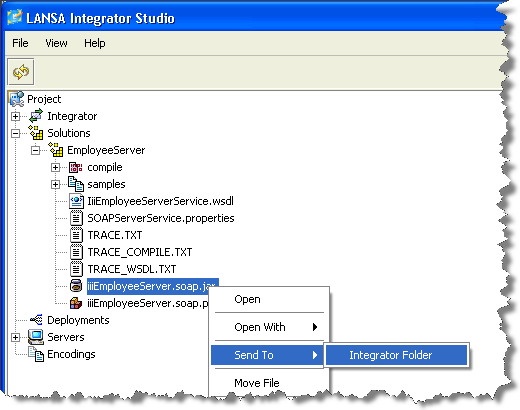
b. Select Send To and then Integrator Folder from the context menu.
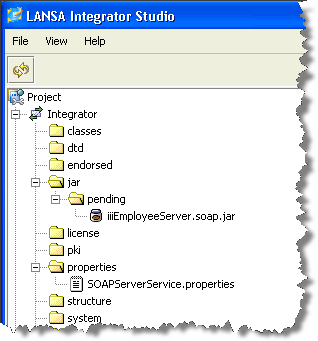
4. Collapse the Solutions folder and expand the Integrator folder.
Note the location of your Solution files in the Integrator project folder
5. From your Project tab in Studio, open your server instance so that you can move the properties and jar files to it.
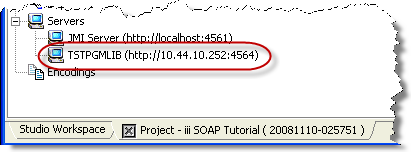
a. Your server will already be defined from earlier exercises in this course. You may be using an IBM i JSM Server, in which case the definition will look similar to the following:
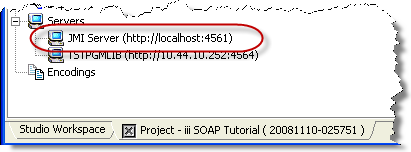
b. If you are using a local web server and JSM Server, your server definition will look like the following:
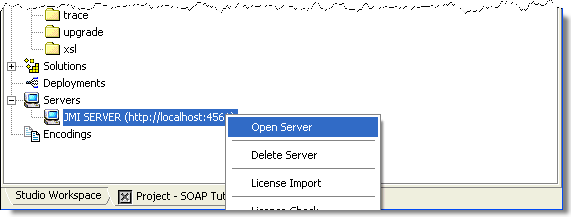
c. Select the appropriate server and right click to Open Server.
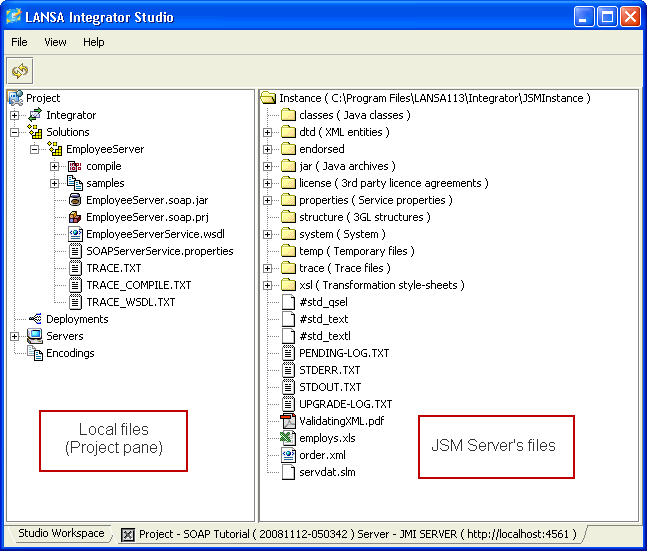
d. Your Project tab will now show both your local files and the JSM server's files.
6. Move the jar file to the JSM server:
a. Highlight the jar file in the Integrator / jar / pending folder of the Project panel
b. Right click to open the context menu.
c. Select Publish File from the context menu, and select Yes in the confirm dialog
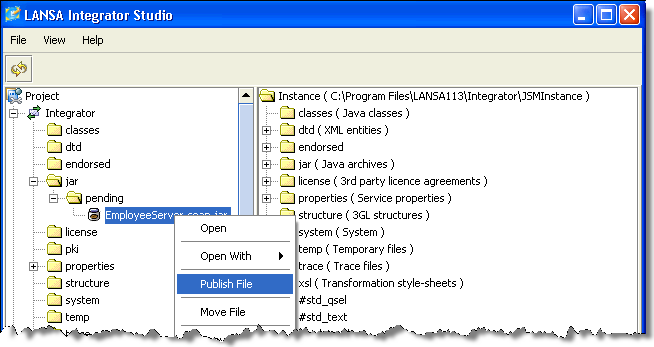
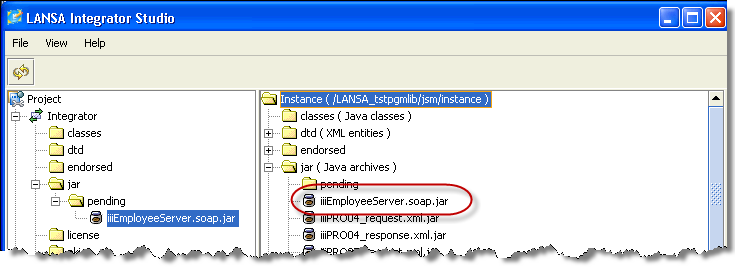
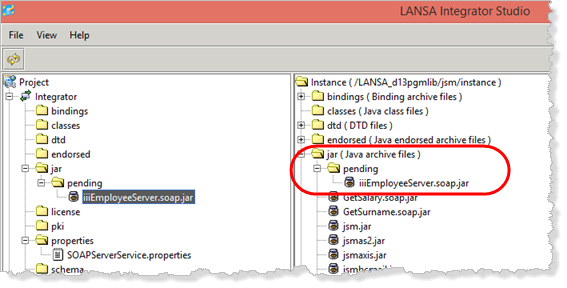
You will now see the jar files in the jar / pending folder of the JSM server.
7. Publish a section in the service's properties file on the JSM server.
a. Highlight the properties file in the properties folder of the Project pane.
b. Right click to open the context menu.
c. Select Publish Section from the context menu, and select Yes in the Confirm dialog.
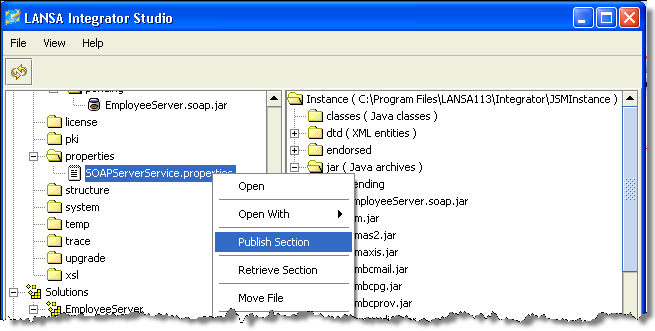
Your properties file is used to add a section to the SOAPServerService properties file on the server.
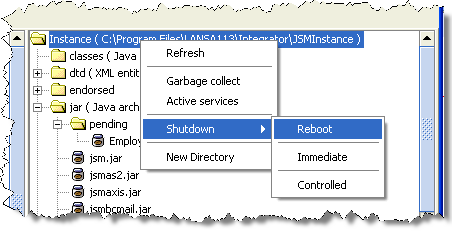
8. You must re-start the JSM Server to move the jar file out of the pending folder.
To do this:
a. Highlight the Instance folder in the JSM server pane
b. Right click to open the context menu.
c. Select Shutdown and then Reboot from the context menu.
9. When the reboot has been completed, press F5 to refresh the screen. You will see that the jar files are no longer in the jar / pending folder of the JSM server pane.