In this step, you will change the position and definition of the push button controls already on the form.
1. The Design tab, showing the form layout, is selected by default. This layout shows how the form will appear at execution time. It is used to design and build your application.
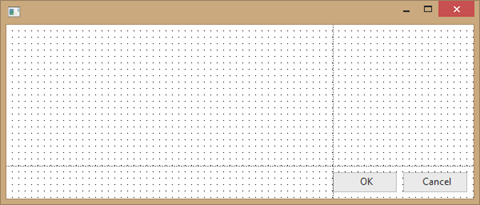
Size the form by clicking on the corner of the form, keeping the mouse button down and dragging the corner to make it about this size (220 x 600):

The Dialog form has a table layout manager with 2 rows and 2 columns. Row 2 and Column 2 are a fixed height and width.
2. We will first reposition and redefine the push buttons. Drag the OK button into Row 1, Column 2:
a. Select the Layout ribbon and set the OK button's Alignment to Top Center and Flow to Down.
b. Give it a margin Top of 10. Click at the top of the margin diagram and then set the Top margin to 10:

c. Select the Details tab and change the button Caption to Hello and Name to HELLO.
3. Drag the Cancel button into Row 1, Column 2.
a. Using the Layout ribbon, change Alignment to Top Center and Flow to Down.
b. Change margin Top to 10 and change margin Left to 0.
c. On the Details tab, change Caption to World and Name to WORLD.
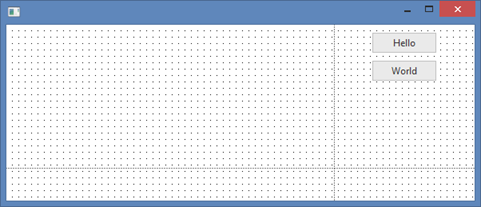
Your form layout should now appear something like this:
