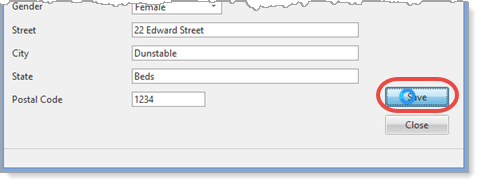
Your applications should provide good feedback to the user, for example when a routine will take more than a few seconds to complete. This step illustrates how to implement a Busy Cursor. Of course, in reality you wouldn't need this feature for a routine that performs a single record add.
1. Event handling routines have a Com_Cursor() parameter that may have values of:
DEFAULT, *DELAY_01, *DELAY_02, *DELAY_04, *IMMEDIATE or *NEVER
The DELAY values are seconds.
2. Change the SAVE.Click routine to have Com_Cursor(*IMMEDIATE).
3. Use a Begin_Loop/End_Loop to add a delay at the start of the SAVE.Click routine. For example, your routine could look like the following:
Evtroutine Handling(#SAVE.Click) Com_Cursor(*IMMEDIATE)
#std_num := 0
Begin_Loop Using(#std_num) To(5000000)
#std_num += 1
End_Loop
Insert Fields(#empdata) To_File(xEmployee)
Message Msgtxt('Employee number ' + #xEmployeeIdentification + ' has been added')
#empdata := *default
Endroutine
Note: In order to produce a noticeable delay, you may need to change the To() value depending on your PC.
Alternatively, you could have used a loop structure such as DOWHILE/ENDWHILE or DOUNTIL/ENDUNTIL.
Dowhile Cond(#std_num *LE 5000000)
Endwhile
Dountil Cond(#std_num = 5000000)
Enduntil
4. Recompile your form and test it, for example by trying to add a blank record. You should see the busy cursor displayed for a few seconds every time:

Other "delay" feedback techniques available include a Progress Bar component and showing "stop" and "go" images.