
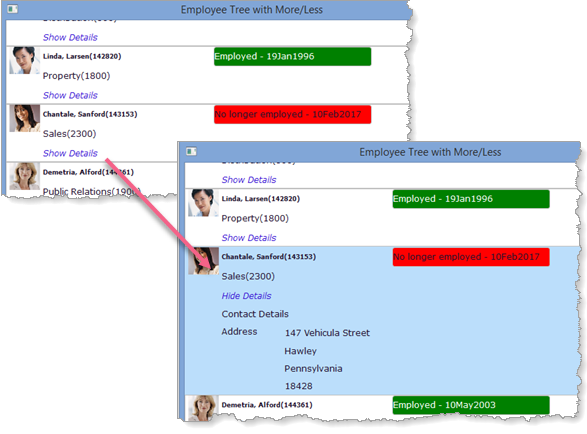
This step creates a reusable part UDC which will define the content and format of each row in the Tree list. The component implements the Prim_Tree.iTreeDesign component which enables the Tree and UDC to communicate, passing a list of fields to the UDC for each ADD_ENTRY to the Tree list.
1. Create a New / Reusable Part / Panel:
Name: iiiTreeEmployeeItem
Description: Employee Item for Tree List
Note: To create this component, you could have selected the Tree Design option. This was not used because your code will use little of the code which this option generates.
2. Change the panel's ThemeDrawStyle to ListItem. This Control Theme Draw Style will be applied at runtime and is defined in the Theme xDemoTheme, which will be applied to the form.
3. The following steps will define a panel which will display details for each employee, including a thumbnail image. Your completed design will look like the following:
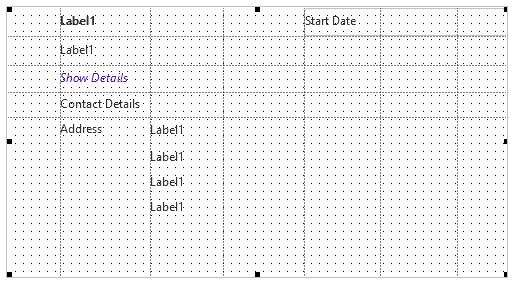
Each employee field will be displayed as text by setting the Caption on a Label.
4. Select the Layout ribbon and add a Table Layout with 5 rows and 8 columns.
Expand the Rows menu and set the first 4 rows Units to Pixels. These rows will have a fixed height. The 5th row will remain proportional.
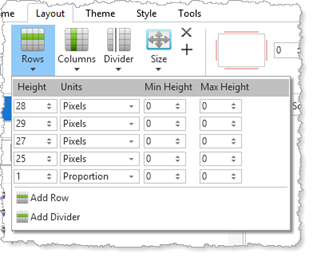
5. Expand the Columns menu and set the first seven columns Units to Pixels.
6. Adjust the column and rows to give layout like the following:
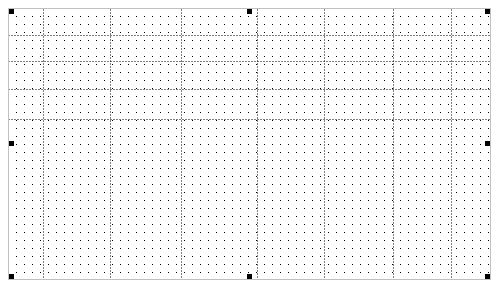
Note: You can drag columns and rows or use the Rows and Columns menus to set width or height to specific values. These settings are not critical and can be adjusted at a later stage.
7. This step adds a number of labels to the panel which will display a field value. Each label is given a suitable name. Other labels will be used as a title or instruction.
Place and set up labels as per the following table:
|
8. Add the labels as per the following table:
|
9. Select the Address label and using the Layout ribbon, change its Alignment to Top Center.
10. Select the Style ribbon. Select label EmployeeName and change Font to Bold and 9pt. You have created a local style, Style1 and applied it to the label.
11. Select the StartDate label.
a. On the Style ribbon, give it Corners with a radius of 3 pixels.
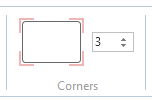
b. Using the Details tab, change, set the ThemeDrawStyle property to GOOD.
12. Select the MoreLess label.
a. On the Style ribbon change Font to Italic.
b. Change Text to a dark blue color. Select 900 in the list of theme colors. Local Style2 is applied to this label.
13. Drag an Image component into Row 1, Column 1.
a. Change Name to EmployeeImage
b. Change ImageSizing to BestFit
c. On the Layout ribbon, change Alignment to Center. Leave Flow as None.
d. Change Size to Fit to Width
e. Change margins on all sides to 2
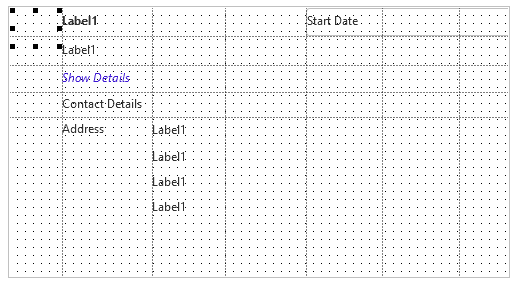
Your design should look like the following:
14. Save the reusable part.