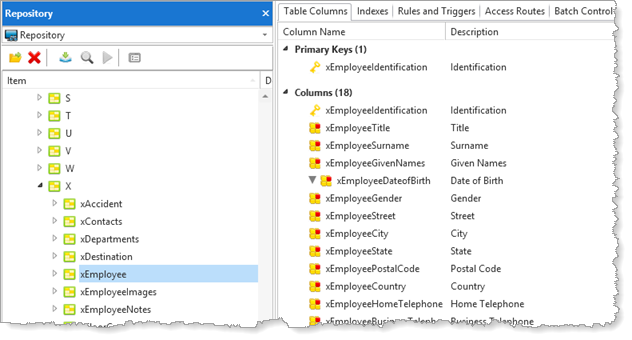
In this step, you will open and view an existing Table, the Employees table xEmployee, from the Repository tab. This means opening a second object (the first is the field iiiAddressLine1 which you used in Step 2 and Step 3. By opening this second object, you will learn how to switch between objects open in the editor.
1. On the Repository tab, expand the Tables list.
a. Expand the X list. (If you have turned off Alphabetical Grouping, skip this step. Refer to Step 2. Turn Alphabetical Grouping Off/On.)
b. Right-click table xEmployee and choose the Open option from the context menu, to open the file for editing. (You can also open the table by double clicking on the table's name on the Repository tab.)
Note: You will not be changing this table in this exercise, so it can be opened as read-only if it is checked out read-only, or if you are not authorized to use the table definition.

2. Click on the different tabs to view the details of the table definition.
Do not change any table details. Leave the xEmployee table open in the editor.
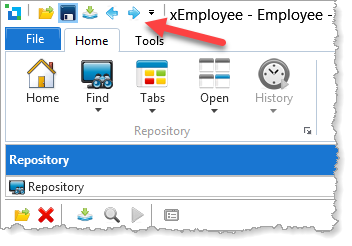
3. Notice that the Previous and Next buttons are enabled on the editor toolbar. You currently have two objects open in the editor.

These buttons switch between the objects that are currently open in the editor.
Note: You can also use the Open Objects menu to select an open object in the editor.