When you add a control to the web page you can position it within the table and then set its alignment, flow and size etc. on the Layout ribbon, which a Table Layout Item will then manage.
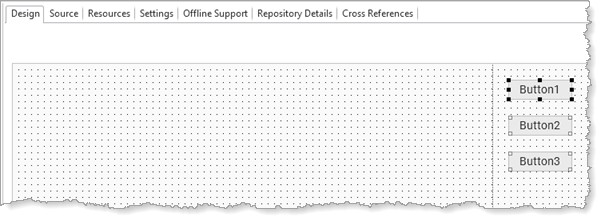
1. Locate the Controls tab. Drag three push button components onto the web page, in the right hand column. Place them anywhere in the right hand column. Initially they are unmanaged.
Your design should look something like the following:

2. You will now change the layout settings so that they flow down.
Select all the buttons by clicking on Button1 and then holding down the Shift key and clicking on the remaining buttons using the Left mouse button. Using the Layout ribbon change the Alignment to Top Left and Flow to Down.

The buttons will now be positioned one under the other:

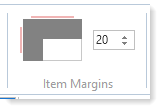
3. On the Layout ribbon, hold down the Control key and click on the left and top sides of the Item Margins diagram. Then set their value to 20 pixels.

You have set margin Top and margin Left to 20 pixels for each button:

4. Drag the column divider to the right, leaving more space in the left hand column to place the fields. Your design should look like the following:

5. Save your Web Page.
