1. Create a New / Blank Page web page component:
Name: iiiAddEmployee
Description: New Employee
2. With the Design tab open, select the Layout ribbon and add a 1 row x 2 column Table Layout to your web page.
3. Drag the column divider to the right. The right hand column will contain push buttons.
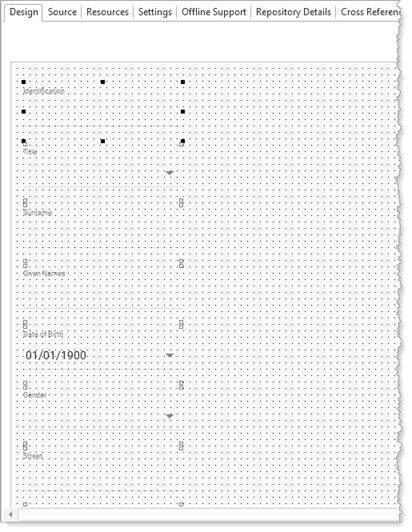
4. On the Repository tab locate the table xEmployee and expand its definition. Select all the columns from xEmployeeIdentifier to xDepartmentCode and drag them onto the left hand column.
Your design should look like the following:

If you scroll down, you'll see that not all fields can be seen at design time. The page design area is defined by the web page Height and Width properties. The Layout Manager defines the columns as Units = Proportion by default. At run time you can scroll in the browser, to see all fields on the panel.
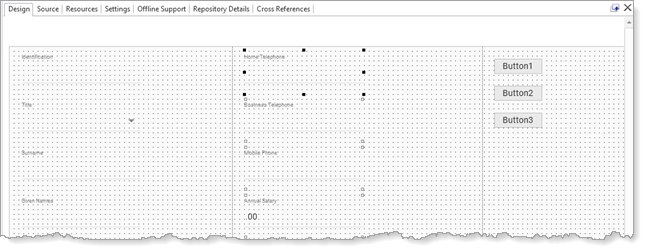
Alternatively, to display all these fields, you could introduce a third column to the Table Layout:

Of course, these layouts are very simple and you would enhance the layout for a real application.
5. Use the Select All option on the Home ribbon, to select all fields.

6. Select the Layout ribbon.
a. Change Alignment to Top Left and Flow to Down.
b. Change' margin Top to 5 and Left to 20.
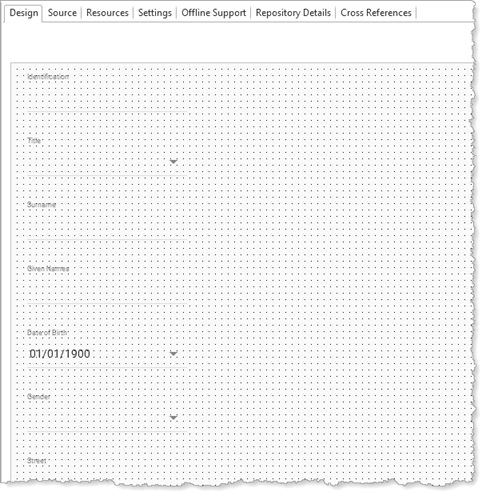
Your design should now look like the following:

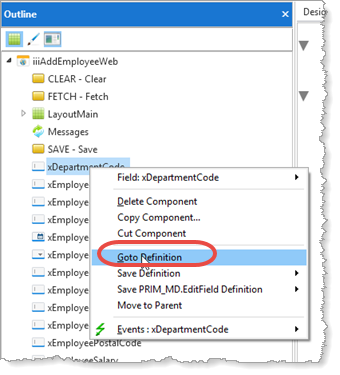
7. Open the Outline tab. Open it from the Home ribbon, Tabs menu if necessary. Locate the field xDepartmentCode. Use its context menu to go to its definition:

8. Change the field's visual component to EditField
Define_Com Class(#xDepartmentCode.EditField) Name(#xDepartmentCode) Displayposition(18) Parent(#COM_OWNER) Tabposition(18) Top(1365) Left(20)
8. Save your web page.