
1. The installer must be able to update the SQL Server database.
For Windows 7, your user profile must be in the Administrator group. You can then install by double clicking on the MSI file.
For Windows 8 or 10, start a Command Prompt using Run as Administrator.
Position to the folder: C:\Program Files (x86)\LANSA\x_win95\x_lansa\x_apps\WEBAPP.
2. Enter the following command and then press the Tab key.
msiexec.exe /I WE
The MSI file name will be completed for you. Your command should now look like this:
Msiexec.exe /I WEBAPP_V1.0.0_en-us.msi
Press Enter. The Windows Setup dialog will be displayed:
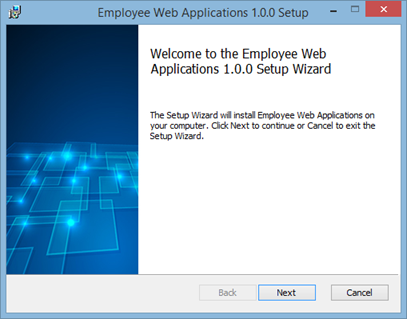
3. Click Next to continue.
4. The End User License Agreement dialog will be displayed:
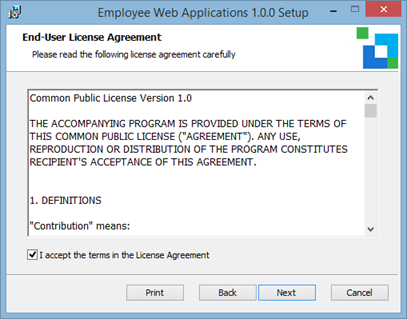
a. An example license file is supplied in folder:
…\x_apps\x_Wix\Content\license.rtf
b. You should edit this file to implement your company licensing terms if necessary.
Select the "I accept …." option and click Next to continue.
5. You can now select the Installation Scope. Select "Install for all users of this machine". This would always be the requirement for a web application, which in practice, would be installed to a Windows server machine.
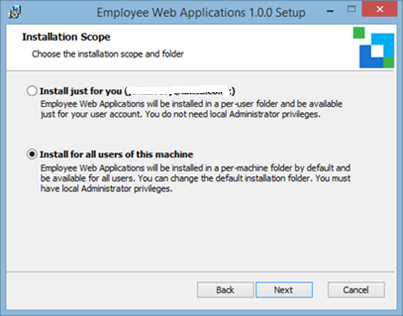
Both options will be shown in Windows 7 provided the installer is an Administrator and in Windows 8 or 10, provided the installation was started from a Command Prompt using Run as Administrator.
6. Click Next to continue. The Destination folder dialog will be shown:
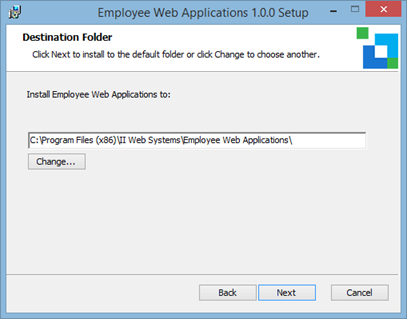
The Change button allows an alternative folder to be selected.
Note: The suggested path includes Company Name and Application Name:
. . . \ACME Distribution Systems\My Mobile Web Application
7. The DBMS Type to be used is displayed.
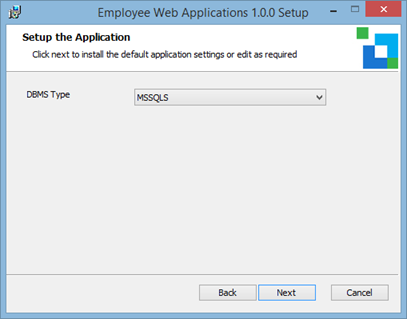
If other DBMS software is installed, this setting could be changed.
Click Next to continue.
8. The database settings you defined in Package Maintenance are then displayed.
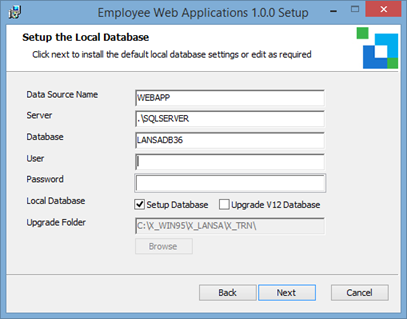
Ensure that the User field is blank. If User ID and Password are entered, the install will assume the database settings require a secure login. Your Visual LANSA database is configured to use Windows Authentication.
The Setup Database check box must be checked. This installation is defining a new database.
An ODBC DSN entry will be created, named WEBAPP, pointing to the database server and database name defined in the package.
The XVLWAPP template settings always show these settings.
9. The User ID settings for the user id with rights to execute the web application are displayed:
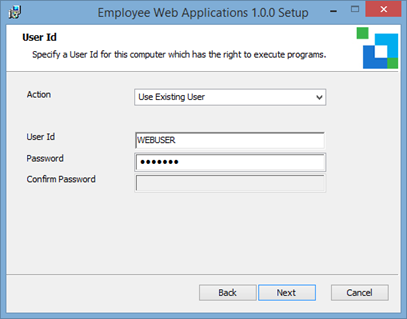
You have the option to Create a New User or Use Existing User. The user must belong to groups:
Enter suitable values and click Next to continue:
10. The install will define a local web site in IIS. A suitable Website Port number will be generated. LANSA uses port numbers starting from 8081.
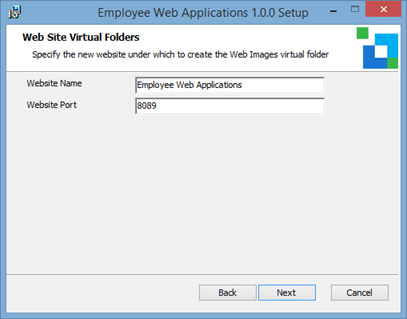
Click Next to continue.
11. The LANSA Communications Port number setting is displayed. This contains the value defined in the package settings. 4546 was the suggested value.
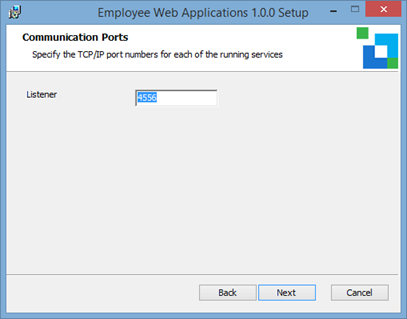
Click Next to continue.
12. The Choose Setup Type dialog is displayed.
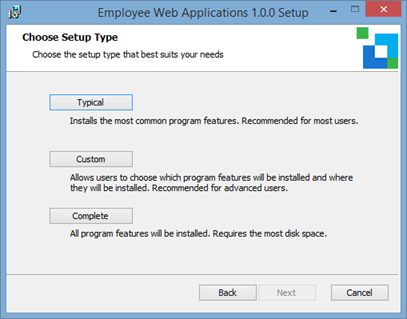
Click Typical to continue.
Note: Currently, all setup types install the complete package.
13. The "Ready to Install …" dialog is displayed, displaying the main install settings. At this stage, you could use the Back button to return to previous settings and change these if necessary.
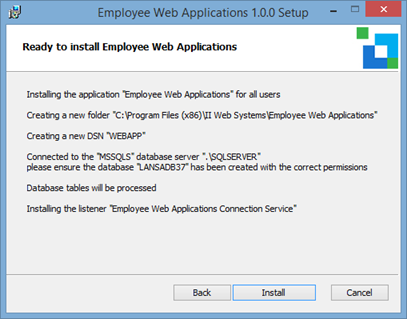
Click Install to continue.
14. The Setup Wizard will install the LANSA web application, showing a progress bar.
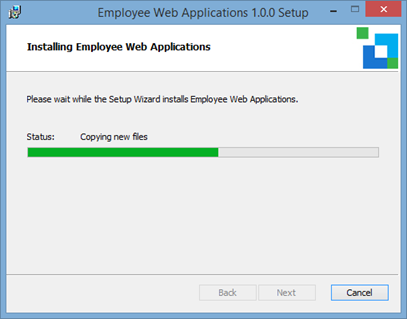
15. Once the install is complete, the following dialog is displayed.
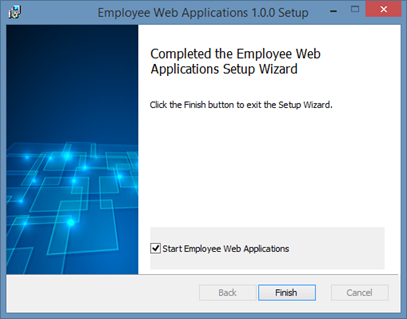
16. Click Finish to continue. This will run the LANSA Server Licenses application.

Your Visual LANSA development system has a softkey licence file that supports execution of a web application in the development system. You have now installed an independent LANSA system which must be separately licenced with a server licence. A License can be obtained from your LANSA vendor. See LANSA Support web site for more details on product licensing.
17. This step assumes that you do not have a web runtime server license (License code PWB) for your PC. In which case you need to:
a. Select the Add Licenses tab. Click the Generate CPU file button to run the X_CPU Utility.
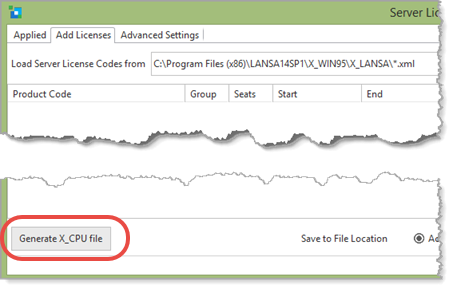
The X_CPU utility generates a file containing a unique identifier for your machine. This must be attached to the license request.
The X_CPU utility uses a network card in your machine as part of the generated unique identifier. A command prompt will be displayed if your PC has more than one network connection.
b. Always select the hardware Ethernet card, option 1 in this example, and press Enter.

c. The following message box will be displayed.
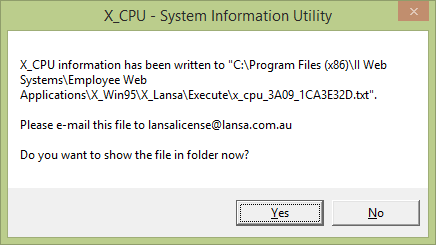
18. Email the X_CPU file to your LANSA vendor and request a temporary Web runtime licence (licence code PWB).
19. The license will be supplied as an XML file, attached to an email. Save the license file to any convenient folder. The license must then be loaded using the Server Licensing program.
20. To install the license:
a. Re-start your web application from the desktop shortcut (created by the install) to re-run the Server Licenses function:

This will re-launch Server Licenses:

Your form will have no existing licenses shown on the Applied tab.
b. Select the Add Licenses tab.

Use the ellipsis button in the Load Server License Codes from edit box, to navigate to the folder containing the XML license file.
c. Select the license file and click Open.
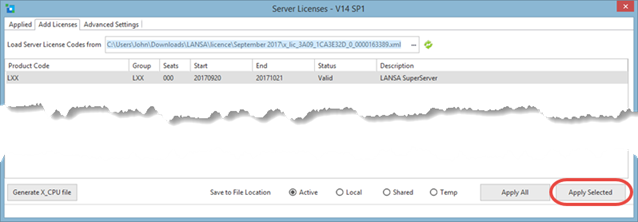
d. Select the new license and click the Apply Selected button.
e. Select the Applied tab, where the license should be shown as Status = Valid.