1. Save  the package definition.
2. Check  the package. This is an optional step which will identify any errors in the current package definition without performing a build which takes a lot more time. Errors will be reported as Warning or Fatal.

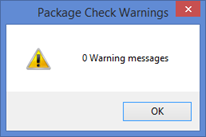
This message box is shown when no errors are found.
3. Build  the package. A progress bar is displayed while the package build steps are completed. This step may take quite a long time.

The first time that a package is built a Global Unique Identifier (GUID) is generated for the package and stored in a file. The Install process identifies the application package in the Windows registry using the GUID.
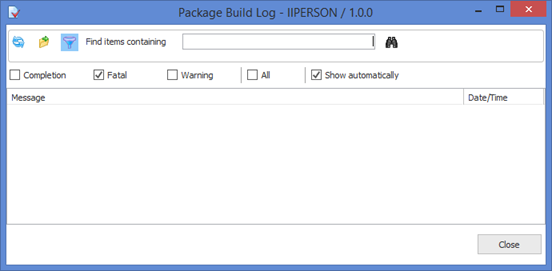
4. When the build is completed display the build log  . Filter to select only the Fatal messages and you should see no messages displayed.

5. The build log dialog allows the messages to be filtered, for example by selecting Completion, Warning, Fatal or All messages only to be display. You can also search to Find specific entries in the log.
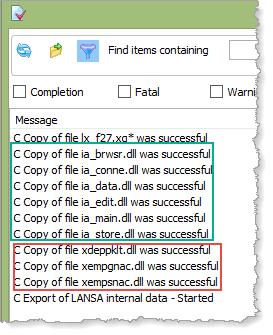
If you select Completion messages, notice that the shipped DLLs include the four reusable parts which the main form depends on, as well as the main form itself (copy of II_MAIN) and the server connect form (copy of II_CONNECT).
You will also notice three other DLLs are included. These are reusable parts, with names beginning X, which are autocomplete and dynamic picklist components associated with fields in the Employee table.

6. Warning messages (if any) should be reviewed but generally do not require any action. For example, a warning message is issued detailing the name of the GUID file generated. If fatal messages are reported, you will need to review the previous steps to resolve the error. For example, if a component DLL is not found, this will usually indicate the component is not compiled.
7. Close the Package Build log.
8. Close the Package Maintenance dialog.