
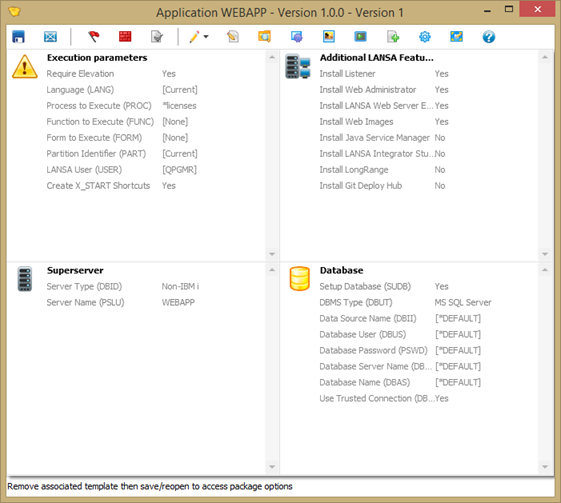
1. In the Deployment Tool main window, double click on Version 1 for the WEBAPP Application, to open the Package Maintenance window.
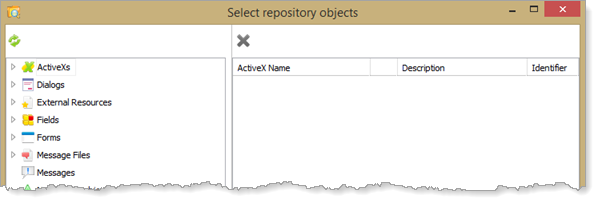
2. Open the Select Repository Objects dialog using the  toolbar button.
3. Expand the Web Pages group and locate your web page (MY_MAIN or similar). Drag this onto the right-hand panel, to include it in the package.
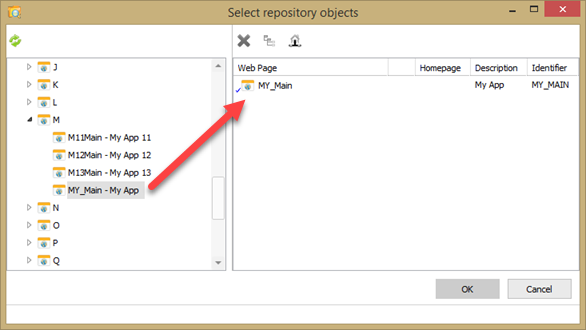
4. With the web page selected, click the  Set as Home Page toolbar button. This nominates the web page as the default web page, to be directed to when the web browser is started or the home button is pressed. In effect an index.html page is generated which redirects to the selected application web page.
5. Select the web page and click the  Cross Reference toolbar button, to see the settings which have been applied.
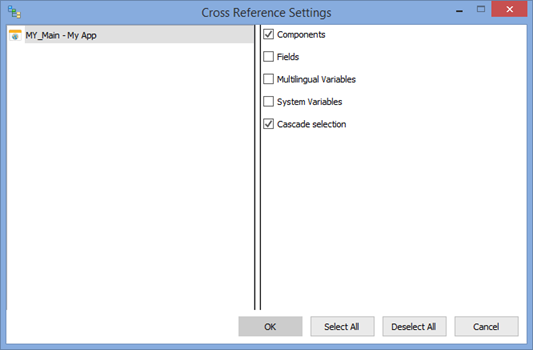
Using cross references, the web page and all its component views and dialogs will be included in the package. The Cascade Selection setting means that their components, such as the server modules will also be selected for the package.
6. Click OK to close the cross reference settings.
7. In the Select Repository Objects dialog, select Tables and locate the Contacts table xContacts. Add this to the package by dragging it to the right-hand panel.
8. Select the table on the right hand panel. Open the Data Processing options and select Include data (new tables only).
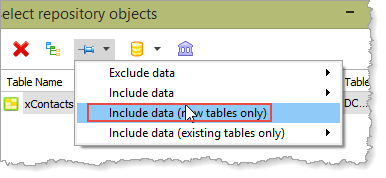
The install package will include the table data, extracted from the table in your Visual LANSA development partition. As well as creating the table in the new database, this data will then be imported.
9. Expand the Upgrade Processing options. There are three options available.
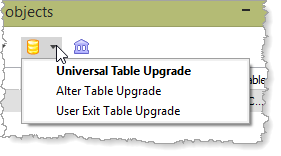
Leave the setting as Universal Table Upgrade. See Table Upgrade Processing for further details.
10. Open the  Set Table Schema Substitutions dialog.
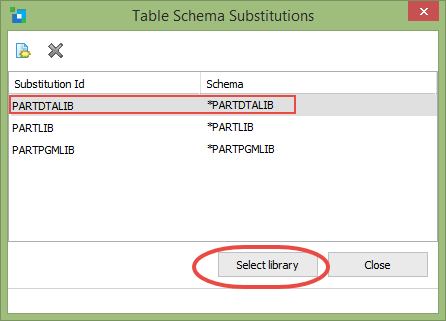
Select PARTDTALIB and click the Select Library button. The dialog will close.
Note that you can also  Create a Schema Substitution.
See Configure the Table Schema Substitution for more details.
11. Click OK to close the Select Repository Objects dialog.