
In this step you will open a shipped demonstration Framework and then create your Framework using Save As.
1. If you have not already done so, start Visual LANSA and log on to the partition you are using for training.
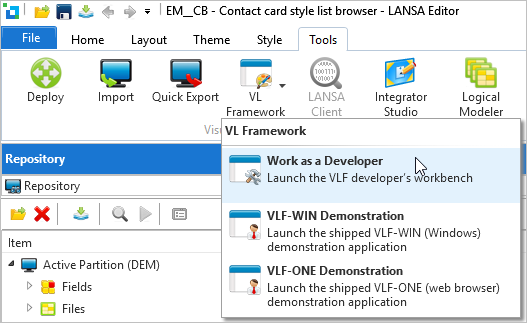
2. Using the Tools ribbon, select the VL Framework and Work as a Developer.
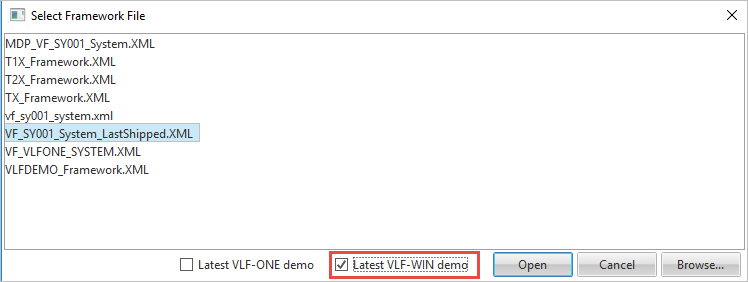
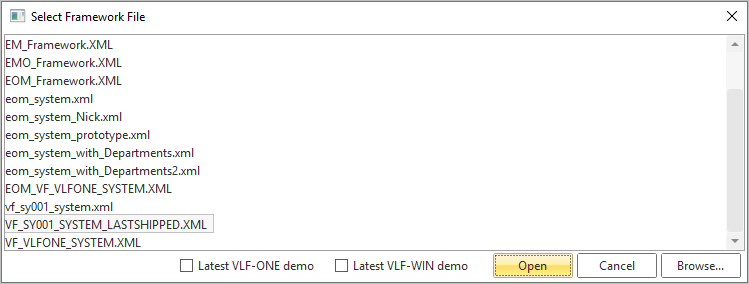
3. Select the checkbox Latest VLF-WIN demo. This is the demo Framework shipped with the last EPC applied to your system. Its name will be VF_SY001_SYSTEM_LASTSHIPPED (you will save your Framework with a different name later in this tutorial).
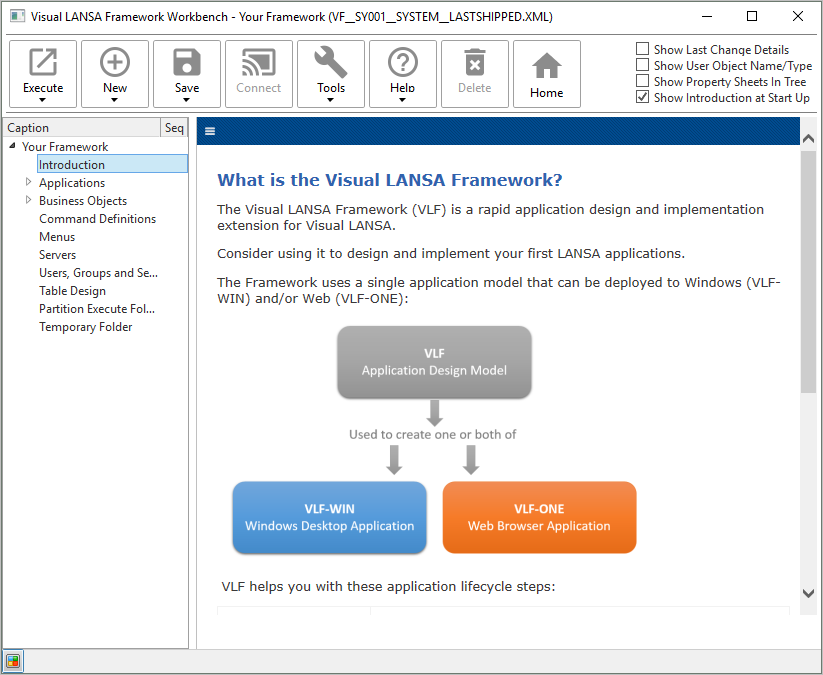
The Framework workbench is displayed.
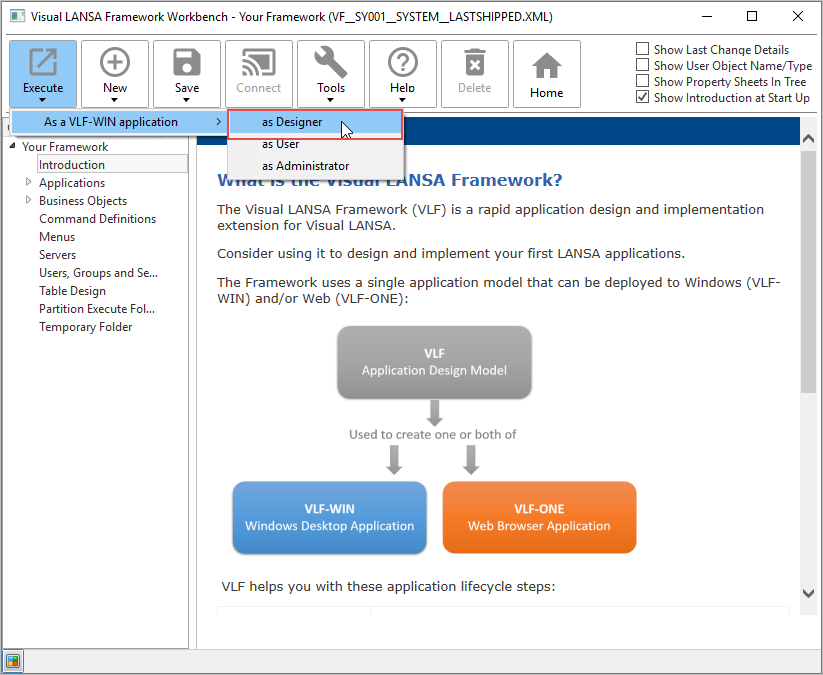
4. Choose Execute in the ribbon, then As a VLF-WIN application > as Designer.
5. Choose VF_SY001_SYSTEM_LASTSHIPPED.XML from the list of applications.
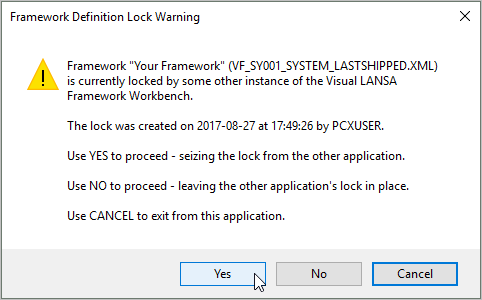
6. Click Yes when the Framework Definition Lock Warning message is displayed.
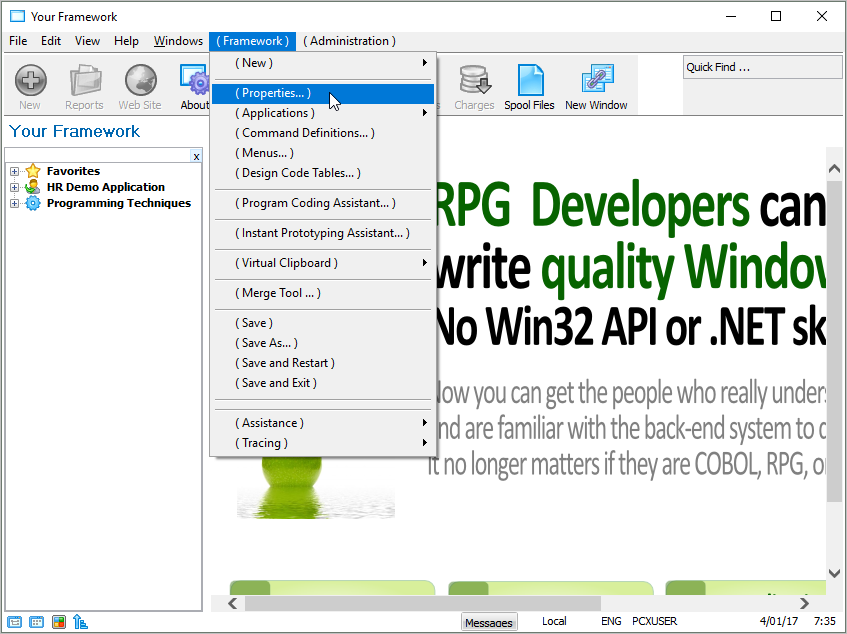
The Framework is now displayed in VLF-WIN designer mode.
7. In the (Framework) menu choose Properties.
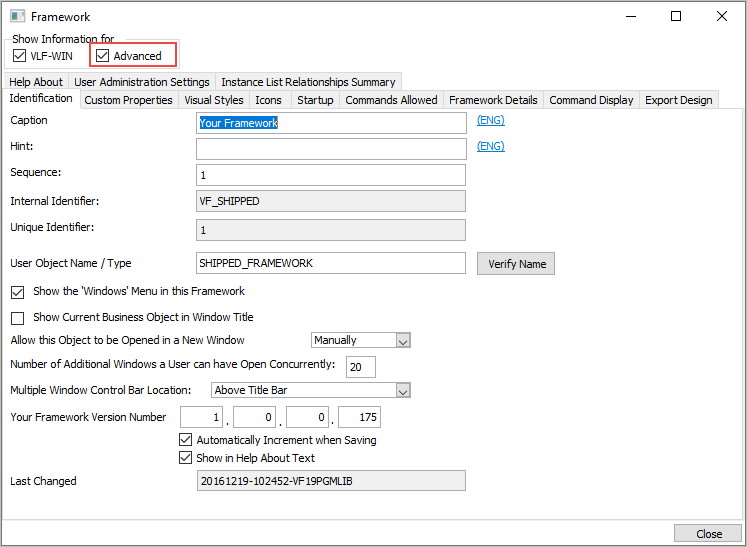
This opens the Framework Properties dialog.
8. In the Show information for group of checkboxes, select Advanced.
9. Close the Framework Properties dialog.
10. From the (Framework) menu select (Save As…).
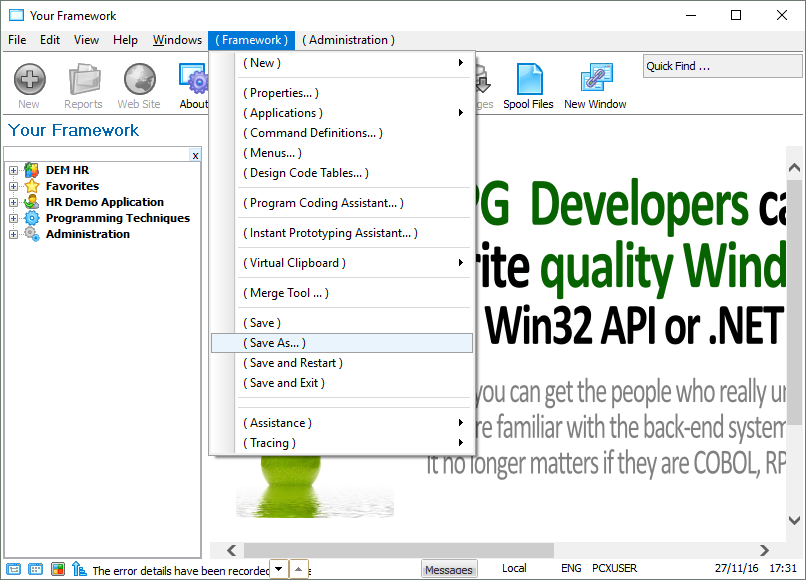
11. In the Save Framework As dialog, name the Framework iii_system.xml (where iii are your initials). Make the caption Tutorial Framework.

12. Save the Framework. You should never create your applications in any of the shipped Frameworks because they will be replaced the next time you upgrade or install.