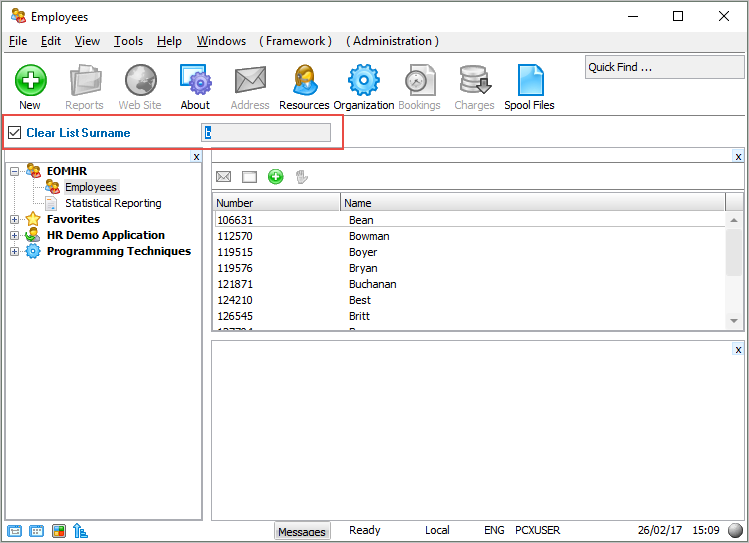
In this step you will snap the mini filter in the Employees business object and test it.
1. Start the Visual LANSA Framework.
2. Select the Employees business object and display its Properties.
3. Delete the three existing filters. When a mini filter is being used, there can only be one filter for the business object because the reason for having a mini filter is to save space to allow the instance list to be wider.
4. Save and restart the Framework so that the filter deletion is complete.
5. Open the Employees business object Properties and select the Filters tab. Click the New button define a new filter.
6. On the Filters Snap-in Settings tab, and use the VLF-WIN prompter and specify iiiCOM07 as the VLF-WIN filter handler (the component identifier is displayed).

7. Close the Employee properties.
8. Click on the Statistical Reporting business object.
9. Then click on the Employee business object. You can now see the mini filter.
10. Test the filter by typing in a letter in the SURNAME field and pressing Enter.

Notice how much more screen real estate the instance list now has because the mini filter takes up very little space.
Also note that you can show any control that fits within the mini filter. For example, you can add combo boxes, drop downs, check boxes, and do instant editing on the mini filter panel.
Remember that the maximum height of the tool bar is 25 pixels.