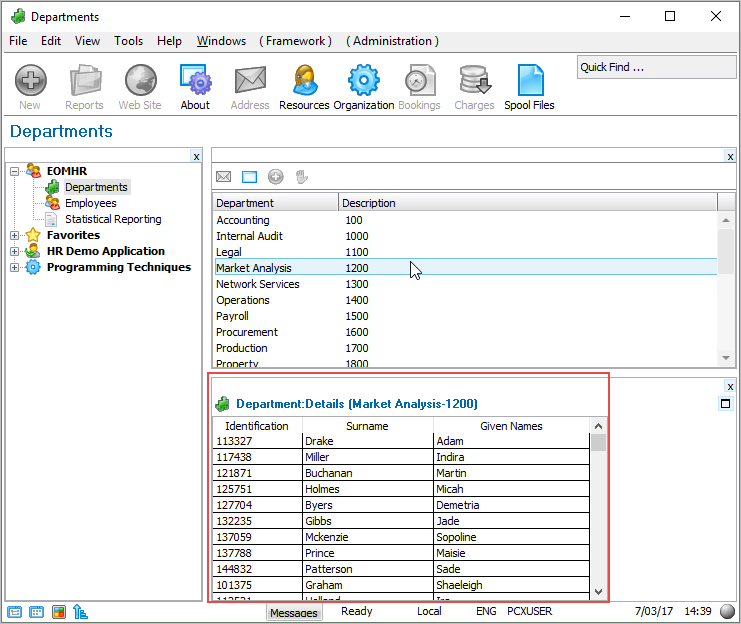
In this step you will create a Details command handler which will show the employees in the selected Department.
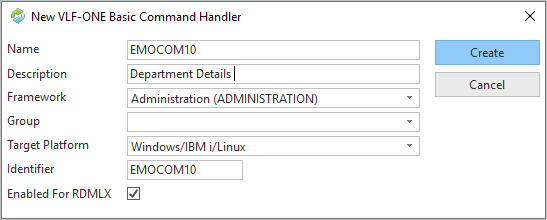
1. Create a reusable part of type Panel. Specify iiiCOM10 as the Name of your command handler and Department Details as the Description. (iii are your initials. If you are using an unlicensed or trial version of Visual LANSA, you must always use the three characters DEM to replace iii). Make Target Platform Windows/IBM i/Linux.
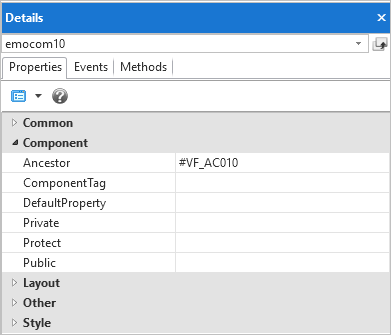
2. Click on the Details tab and make VF_AC010 the Ancestor of your component.
You will first add a layout manager to the command handler to control the placement of the controls on it:
3. Display the Layout ribbon in the Editor.
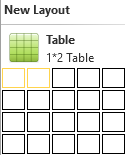
4. Add a one row, two-column Table Layout manager to the reusable part.
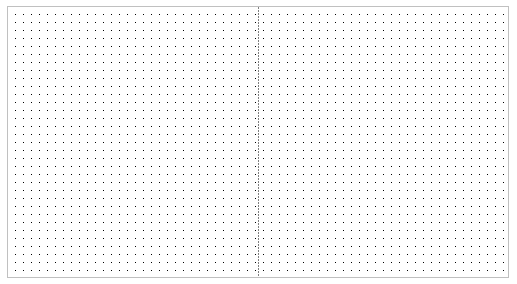
5. Make the left column wider.
Your command handler will now look like this:
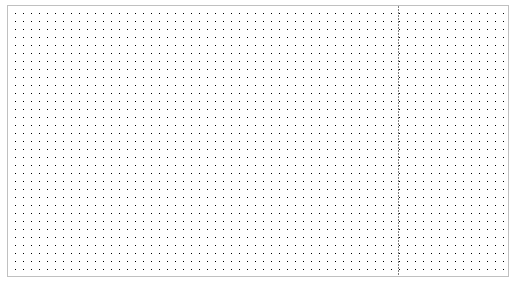
6. Display the Controls tab.
7. Drag and drop a grid control on the left column.
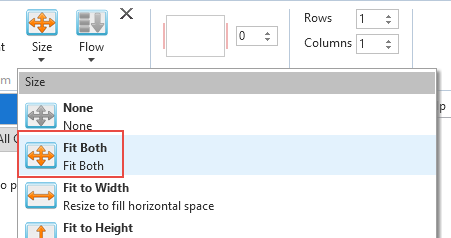
8. Select the Layout ribbon and give the Grid a Size of Fit Both:
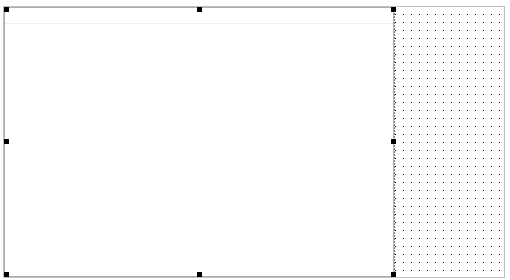
You have now created a command handler which will automatically resize with the rest of the Framework. It looks like this:
9. Display the xEmployee table in the repository and expand it.
10. Drag the fields xEmployeeIdentification, xEmployeeSurname and XEmployeeGivename to the list.
11. Select the Given Names column by clicking on its column heading. On the Details tab, expand the Component Properties and make the WidthType Remainder.
12. Make the SelectionStyle of the grid WholeRow.
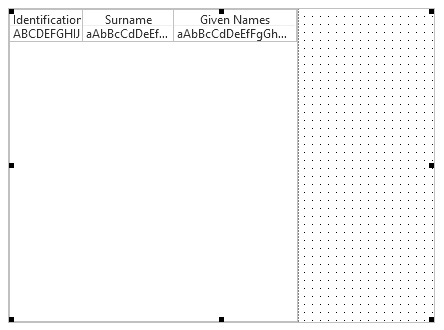
Now write the code to populate the Employee list in the command handler:
13. Add the uExecute method. It is invoked whenever the user executes the Framework command that is associated with the command handler.
Mthroutine Name(uExecute) Options(*REDEFINE)
Endroutine
In the uExecute method:
15. Use the GetCurrentInstance method to get the current Department and Section.
Invoke #avListManager.GetCurrentInstance AKey1(#DEPTMENT) AKey2(#SECTION)
16. Clear the Employee grid:
Clr_list #Grid1
17. Lastly select the employees that belong to the Department from the xEmployeeByDepartment index and add them to the grid:
Select Fields(#xEmployeeIdentification #xEmployeeSurname #xEmployeeGivenNames) From_File(xEmployeeByDepartment) With_Key(#xDepartmentCode) Nbr_Keys(*Compute) Generic(*yes)
Add_Entry To_List(#Grid1)
Endselect
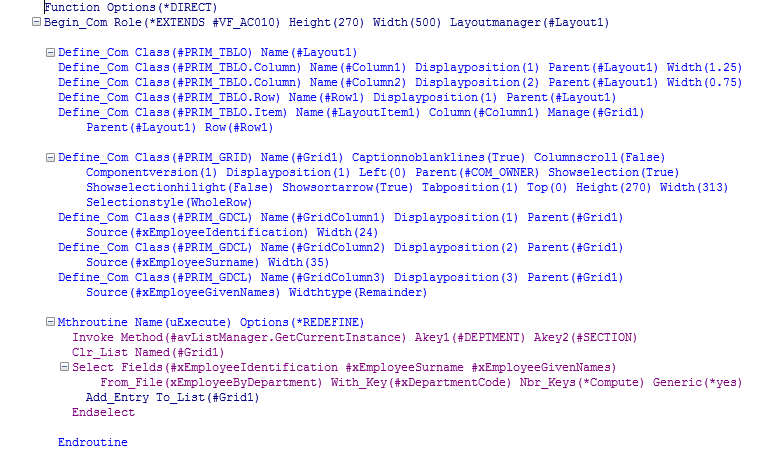
Your code will now look like this:
18. Compile your command handler.
19. Display the properties of the Departments object and in the Commands Allowed tab snap the command handler in the Details command of the Departments business object using its identifier.

20. Test your command handler.
