Create a Screen
To create a screen, enter a DISPLAY, REQUEST or POP_UP command on a new line in the Source view, display the Design tab and then drag and drop the fields you want included either from the Fields, Groups and Lists tab in the Details tab folder or from the Repository tab.
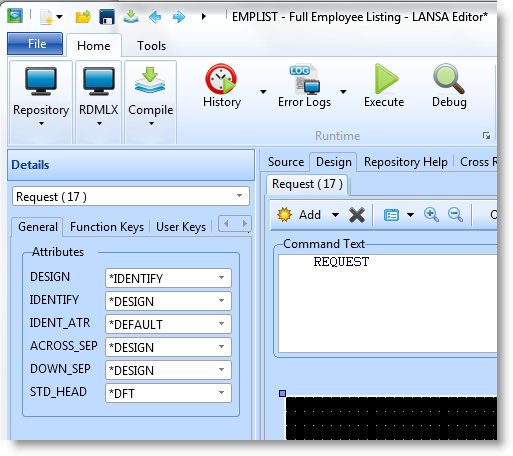
For example, to create a screen that requests employee details from the Demonstration Personnel system, enter a REQUEST command on a blank line. Select the Design tab:

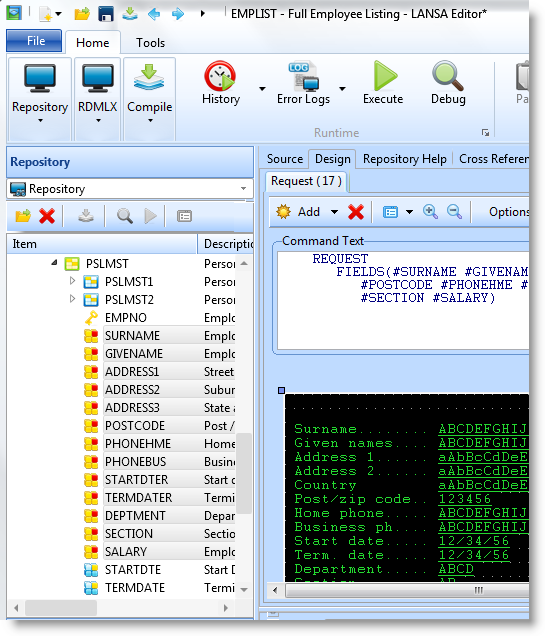
Select the Repository tab and expand the Tables node. Locate the PSLMST table and expand it to display all the fields in the table.
Select all the fields in the table and drag and drop them to the screen representation.

|
Add a field to the command screen |
You can display the Details tab and select the fields to be included on your screen |
|
| Move a field |
|
Select the field and drag-and-drop it to a new location. |
| Move a group of fields |
|
Select the fields and drag-and-drop them to a new location. |
| Delete a field/text |
|
Select the fields or text and press the Delete key or use the Delete command. |
| Add text |
|
Refer to Add Text |
| Showing a grid |
|
Display the LANSA Options dialog, then display the Design settings and select Show Grid option. |
| Increase or Decrease Text size |
|
Select the text to be increased or decreased and use whichever command is relevant. |
⇑ 2.4.4 Function Screen Designer


