To get your Windows server to trust your self-signed certificate, you need to import it to your Windows certificate store.
Open Windows Explorer and navigate to the folder that contains the exported certificate (.pfx) file.
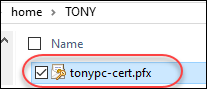
Double-click on the file to start the import process.
A Certificate Import dialog box should appear.
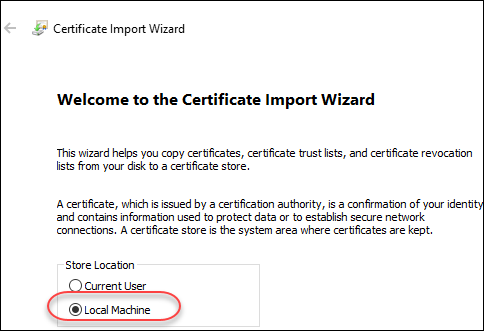
Change the Store Location option to Local Machine.
Press the Next button.
You should now see the screen showing the path of the certificate to be imported. Press the Next button.

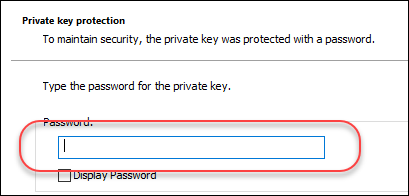
You will be presented with the screen prompting you to enter the certificate password (this is the password you provided when you exported your certificate out of IIS).
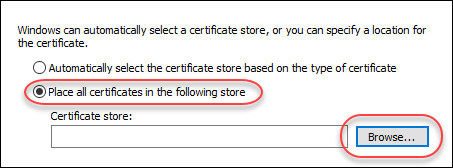
In the next screen, choose Place all certificates in the following store option, and then click the Browse button.
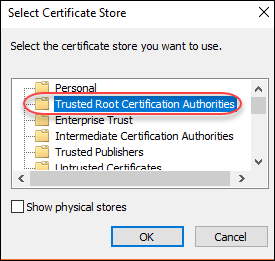
Choose Trusted Root Certification Authorities. Press the OK button.
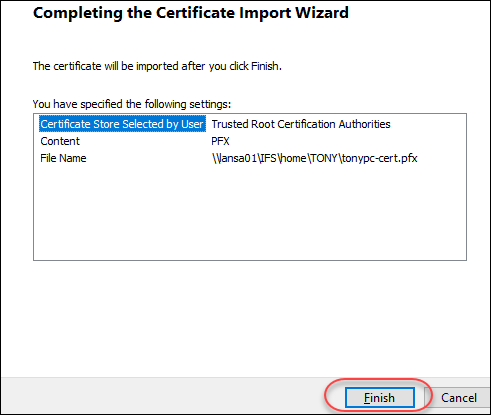
You will now be on the last screen. Click Finish to complete the import process.