
To get your IBM i to trust your self-signed certificate, you need to import the certificate to your IBM i certificate store using the Digital Certificate Manager (DCM).
If you don't have access to the DCM, you will need to get your system admin to import it for you into the IBM i certificate store.
The default URL for DCM:
http://hostname/QIBM/ICSS/Cert/Admin/qycucm1.ndm/main0
If you can't open this URL, talk to your IBM i system admin.
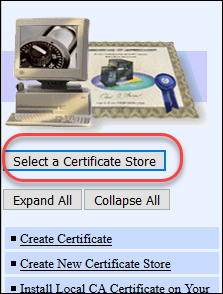
On the left pane, choose Select a Certificate Store.
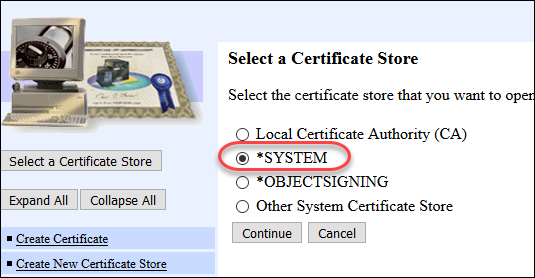
Choose *SYSTEM, click on the Continue button.
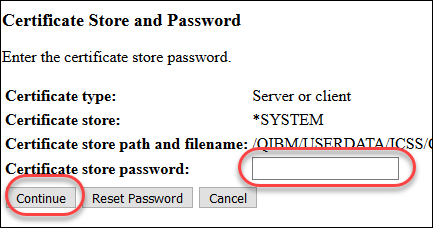
Enter the Certificate Store password, then click Continue.
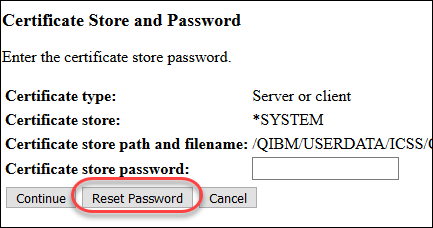
If you don't know the password, choose Reset Password to reset the password.
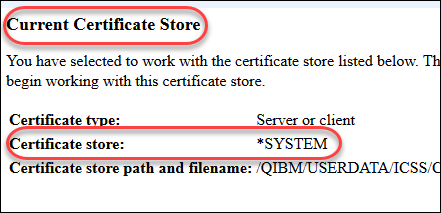
If you have successfully opened the *SYSTEM certificate store, you should be presented with the following screen:
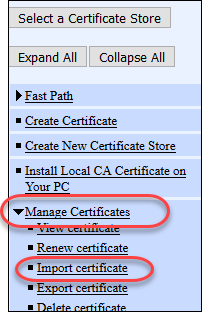
From the left pane, expand the Manage Certificates menu, and choose Import certificate.
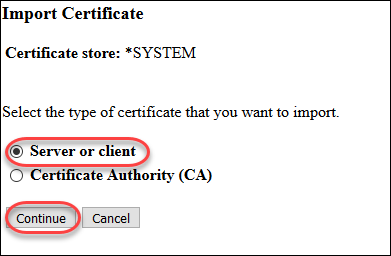
On the main screen, choose Server or client, then click the Continue button.
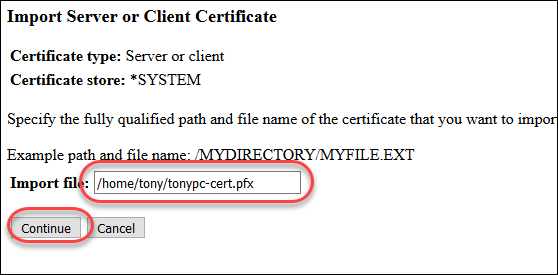
Fill out the path for the certificate file (.pfx) you exported out of IIS earlier, press the Continue button.
Fill out the password you entered when you exported the certificate, and enter your computer name in the Certificate label field. Press the Continue button.

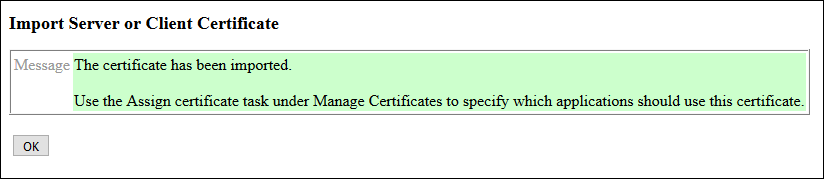
You should see the following message if your certificate has been successfully imported:
Next: Configuring Windows to Trust the Self-Signed Certificate
